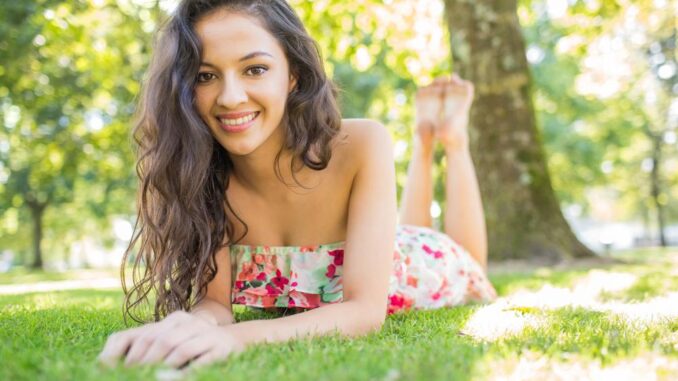
There’s nothing better than getting out of the pool on a particularly hot day and letting the sunshine dry you off while you tear through your summer reading list or take a leisurely snooze. It leaves your skin feeling sun-kissed and warm and, if you have naturally wavy hair, can help create a beautifully air-dried hair look. If you don’t have natural waves or access to a swimming pool, lake or ocean, don’t worry! You can still get “water waves” hair that’s inspired by this warm weather experience. Here’s everything you need to know about the style and how to get it.
Source: wavebreakmedia/ Shutterstock.com
What Are Water Waves?
Whether you work in a salon or just want a little summer hair inspiration, water waves hair is a great look to try. It’s been seen repeatedly on the red carpet over the past few months, so you’re sure to get major style points for rocking the trend this summer. It’s also extremely versatile and works on many different hair types. With a good hair care routine and a curated selection of professional hair styling products, you’ll be on your way to trendy water waves hair in no time.
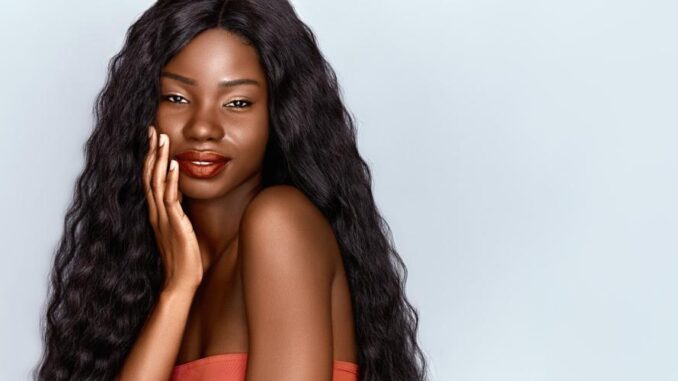
The water waves look is not unlike some other recently popular wavy hair looks in a lot of ways. Like beach waves, water waves look air-dried and natural. They move well and aren’t weighed down by a whole lot of products. Water waves differ in their particular type of waviness, though. Beach waves tend to be small, super salty or textured waves, while water waves feature larger wave sections and a cleaner overall look.
Water waves look touchably soft and smooth, just like when wavy hair air dries after a beach or pool day. However, water waves are their own distinct style. The waves that make up this look are curved and defined from root to tip. The resulting look features sleek and stylish waves that work for any occasion!
Source: BeautyAgentStudio/ Shutterstock.com
Styling the Perfect Water Waves
A beautiful water waves hairstyle only involves a few tools and products. The look is meant to be fresh, clean and smooth, so start the process with a good wash. Cleanse the hair and get rid of dirt, oil and product buildup using a professional shampoo for your hair type. Follow with conditioner, a lightweight leave-in treatment and a heat protectant to prevent damage. Since the look requires a specific wave shape, be sure to blow dry the hair smooth and straight. Add as much volume as you like around the roots to create the foundation for a big and bold wave look!
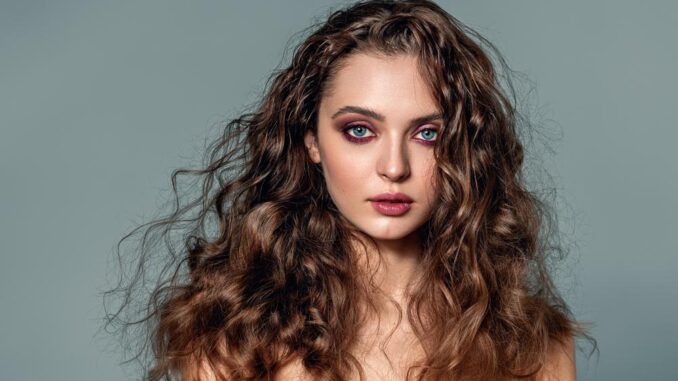
Once the hair has been fully blow dried, it’s time to start making waves. The best water waves are created with heat, though sleeping in braids overnight is a great heatless alternative. Grab a hair straightener and, starting with small one or two-inch sections depending on hair thickness, begin to bend the hair back and forth from roots to ends. To increase root volume, start by pulling the hair up and over for about an inch worth of hair before bending the section in the opposite direction. Essentially, the pattern should resemble a wave or squiggle that arches up and curves down.
Source: Julia Strekoza/ Shutterstock.com
When creating water waves with a hair straightener, it’s easiest to work in layers and sections. Begin with the bottom layers of hair and move up to the top layer to create dimensional, voluminous water waves. Once you’re done creating the waves, you can move on to other styling steps. Using a light to medium hold professional hairspray, add a fine layer of spray throughout the hair. This is most effective when done immediately after using the hair straightener so the waves don’t have time to straighten out. For wave- or curl-resistant hair that tends to straighten out quickly, consider spraying the hair after each layer of waves is finished.
Water Waves Up or Down
Perhaps the best thing about water waves is that you can leave them completely down or use them to add texture and shape to a pinned-back look or updo. Let them flow free for a free-flowing look that offers lots of movement and touchable softness. Consider using a few bobby pins to bring the sections of hair just above your ears to the side or even all the way to the back as a half-up, half-down look. If you’re getting ready for a formal occasion or want to rock a textured bun, try adding a bit of your favorite hair styling products to twist the waves back into a bun or French twist. However you choose to style your water waves, remember to use a heat protectant and professional salon products!