How to install Enhanced Visuals Mod ?
Follows 5 Steps bellow to install Enhanced Visuals Mod (More Realistic) on Windows and Mac :
1. Ready installed Minecraft Forge.
2. Download a Forge compatible mod from url download, or anywhere else!
3. Open Minecraft game, click ->> ‘Mods’ button from main menu, click – >> ‘Open Mods Folder’.Important: Some older versions of Forge may not have the ‘Open Mods Folder’ button. If that is the case, you will need to find the folder manually. Windows:
- Press the Windows key and R at the same time
- Type %appdata% and press enter
- Find folder Minecraft and then look for the Mods folder within that
Mac:
- Click on the desktop and then press Command+Shift+G all at the same time
- Type ~/Library and press enter
- Open the folder Application Support and then Minecraft
4. Place the mod file downloaded (.jar or .zip) into the Mods folder.
5. Run Minecraft, and you should now see the new mod installed in the list!
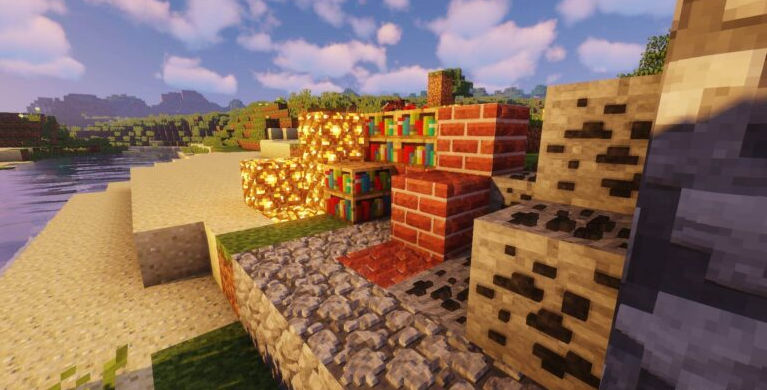
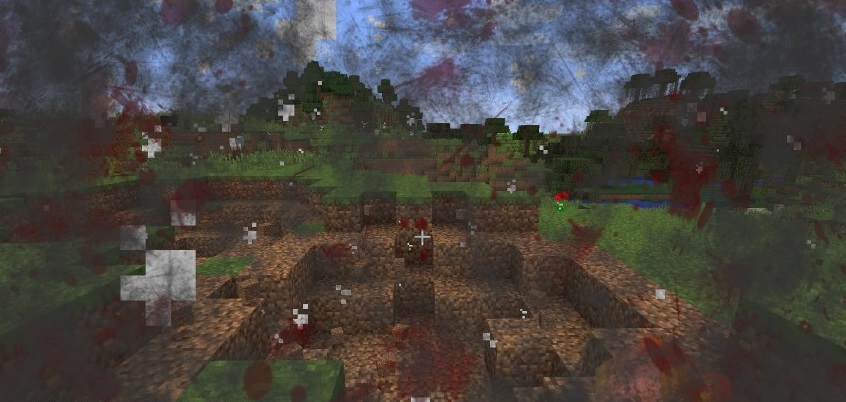
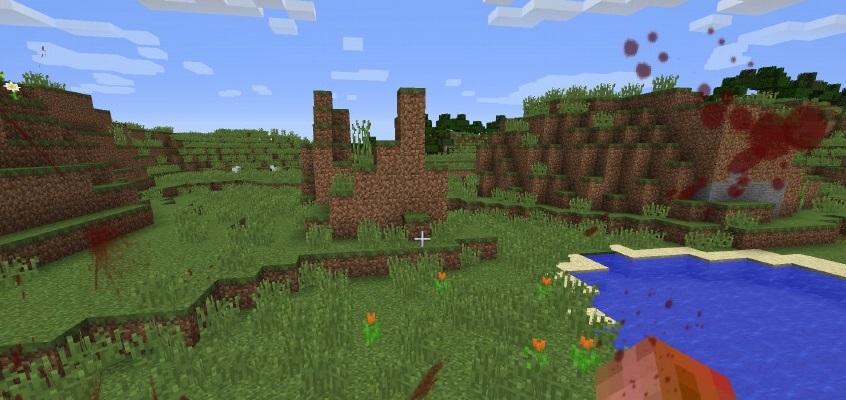
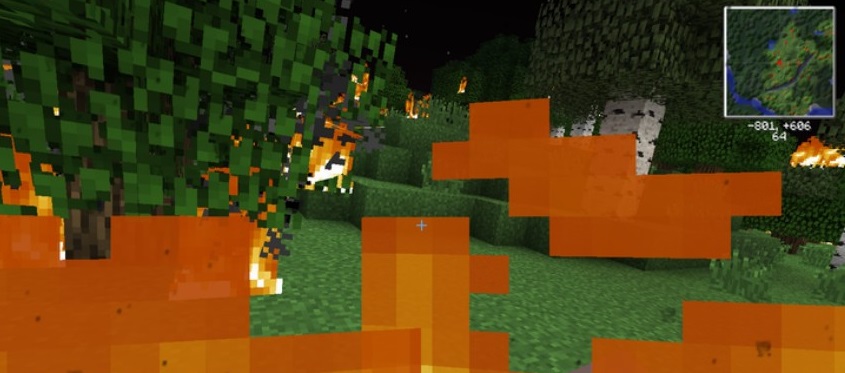
Enhanced Visuals Mod makes Minecraft more visually appealing when certain events occur, such as being under the influence of a potion or looking at an Enderman.
Enhanced Visuals Mod screenshot :

Requires:
Enhanced Visuals Mod Download Links :
Official Link : Enhanced Visuals Mod
Changelog
Ported to forge 41.0.94
Mirror link :
For Minecraft 1.19
Forge version: Download from Server 1 – Download from Server 2
For Minecraft 1.18.2
Forge version: Download from Server 1 – Download from Server 2
Fabric version: Download from Server 1 – Download from Server 2
For Minecraft 1.18.1
Forge version: Download from Server 1 – Download from Server 2
For Minecraft 1.17.1
Forge version: Download from Server 1 – Download from Server 2
For Minecraft 1.16.5
Forge version: Download from Server 1 – Download from Server 2
For Minecraft 1.15.2
Forge version: Download from Server 1 – Download from Server 2
How to install Minecraft Forge
Minecraft Forge is a Modding API that makes it very easy to install a number of different Minecraft mods. This guide will explain how to correctly install Forge.
1. Visit the Forge website, choose the Minecraft version you would like to run from the sidebar on the left, then download the installer.
2. Open the .jar file you have just downloaded, make sure ‘Install client’ is selected and click OK. Once this has finished you will see a success message.
3. Launch Minecraft and select the Forge profile then click Play.
4. You should now see the Minecraft Forge text in the lower left hand corner and a Mods button below Multiplayer.
If so, congratulations, you have successfully installed Minecraft Forge