How to install BetterVanillaBuilding Texture Packs ?
Follows 4 Steps below to install BetterVanillaBuilding Texture Packs :
1. Download .zip file of resource pack (texture pack), Open folder where you downloaded the file and Copy it
2. Open Minecraft game. Click and select on ‘Options’ => then select ‘Resource Packs’
3. Choose ‘Open resource pack folder’ and paste the download file into the resource folder in Minecraft
4. Go back your Minecraft game, you can activate the resource pack by choosing it and hitting ‘Done’
- Best Shaders For Minecraft 1.19
- Best Minecraft Texture Packs 1.19 | 1.18 | 1.17 | 1.16.5 in 2022
- 7 Best Realistic Minecraft Resource Packs | Texture pack for Minecraft
NOTE: Many Texture packs require Optifine to be preinstalled.
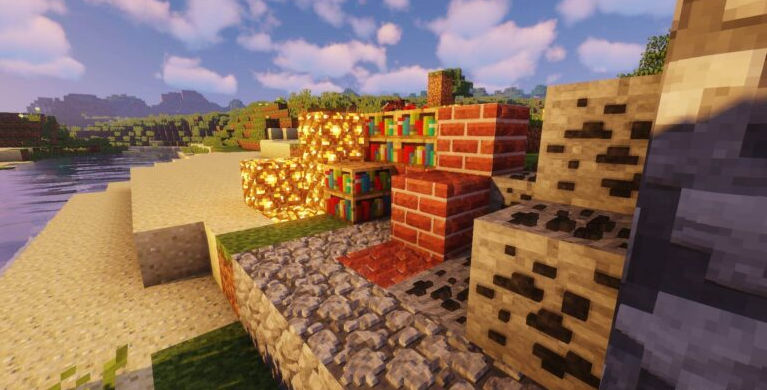
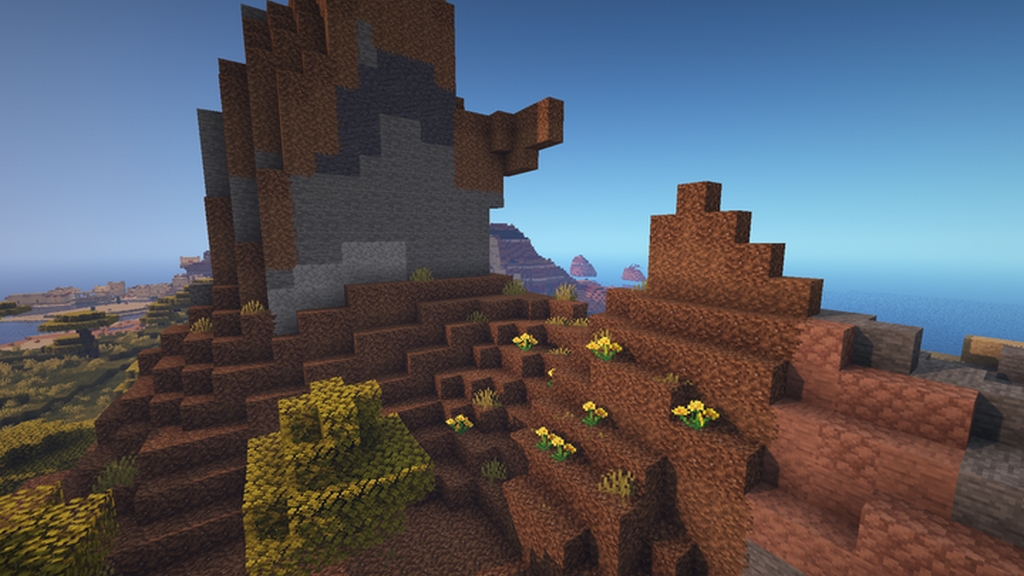
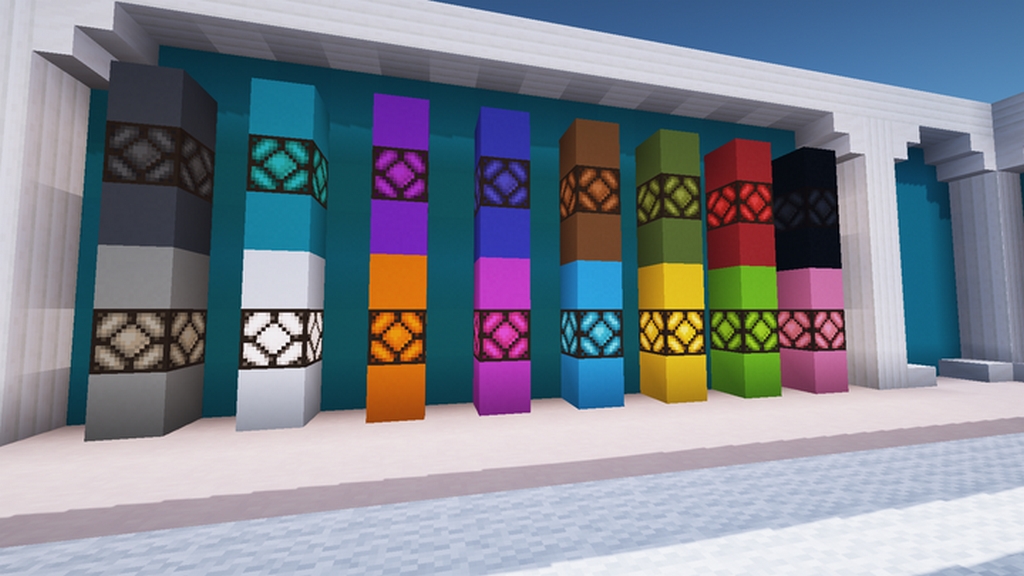
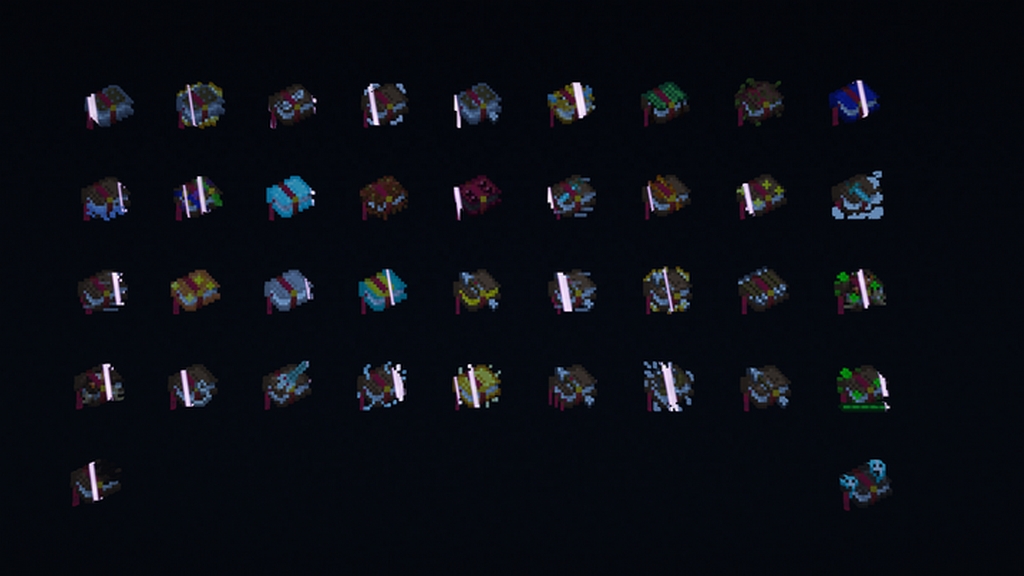
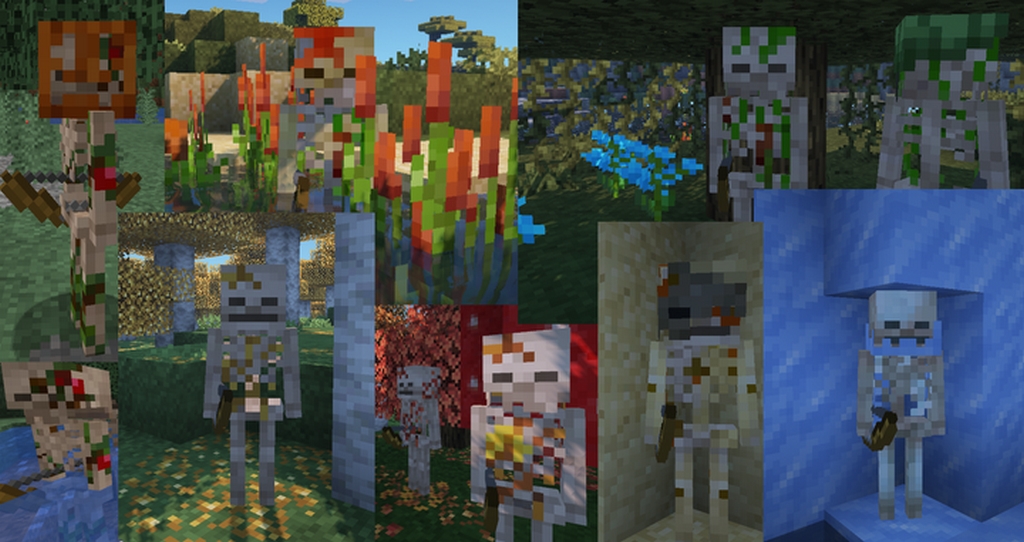
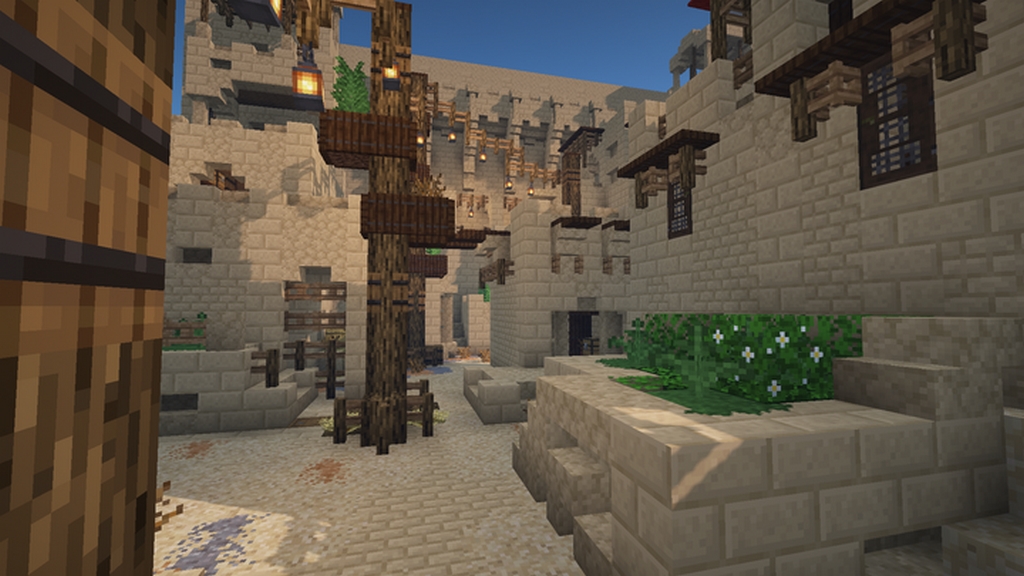
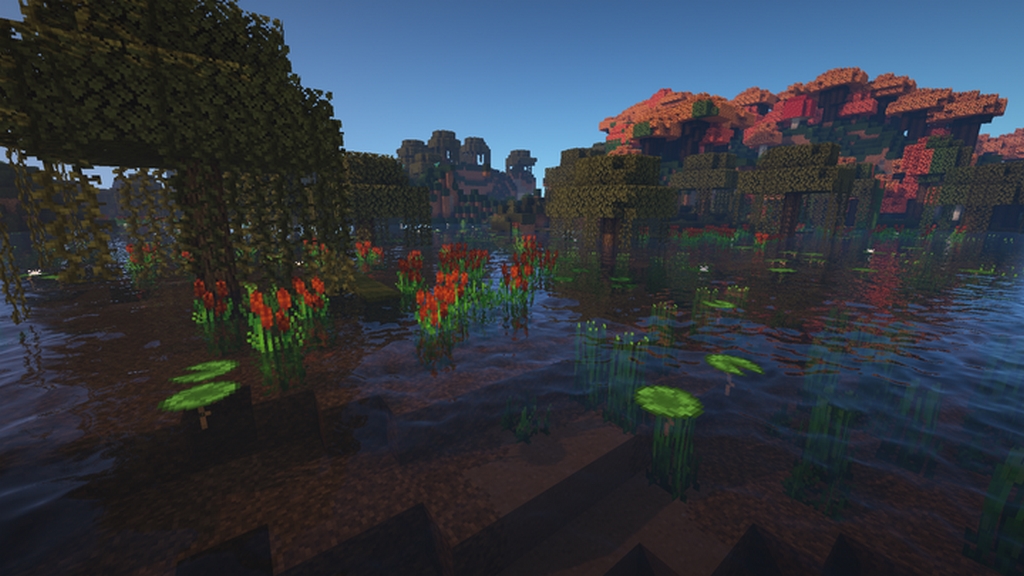
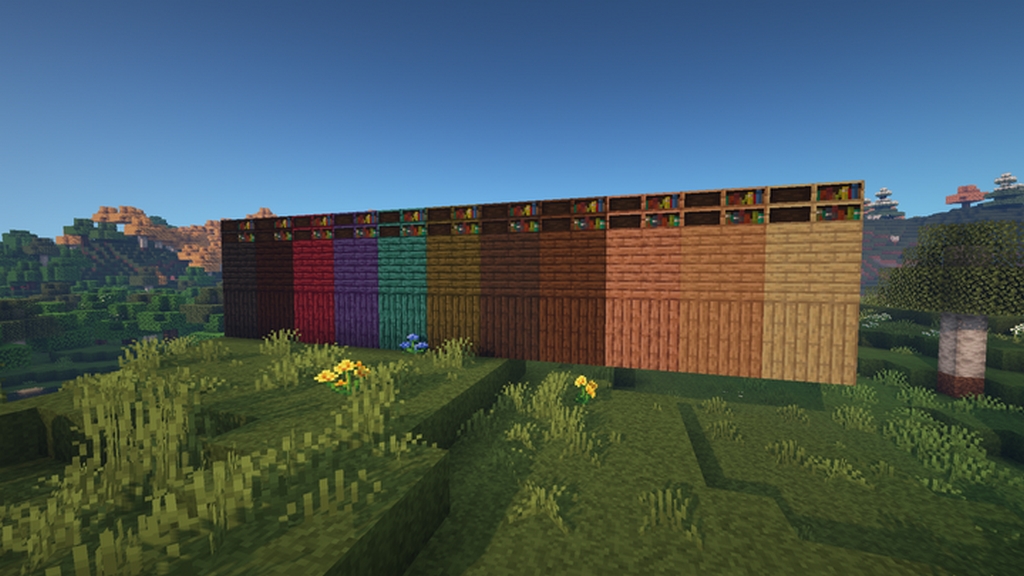
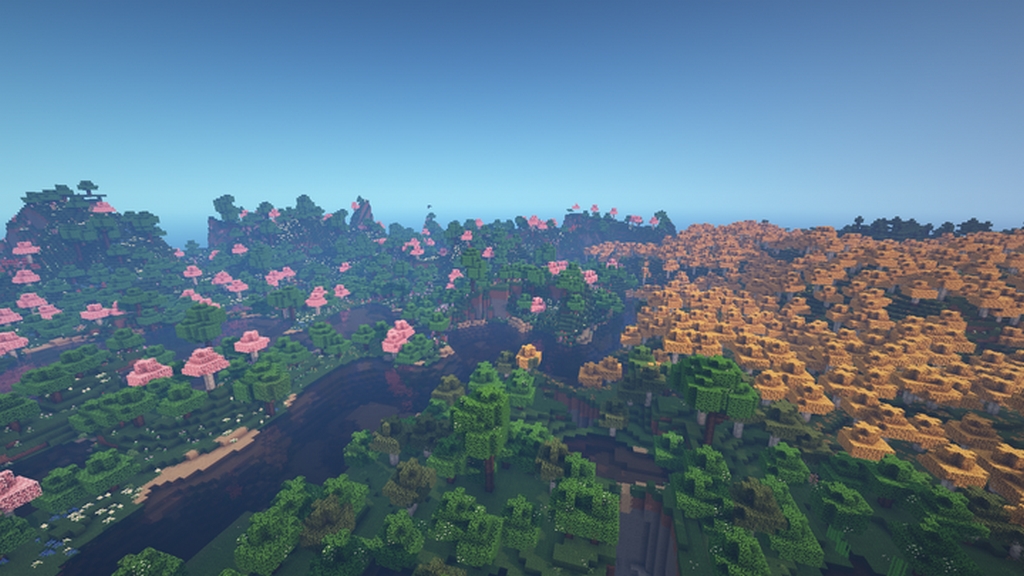
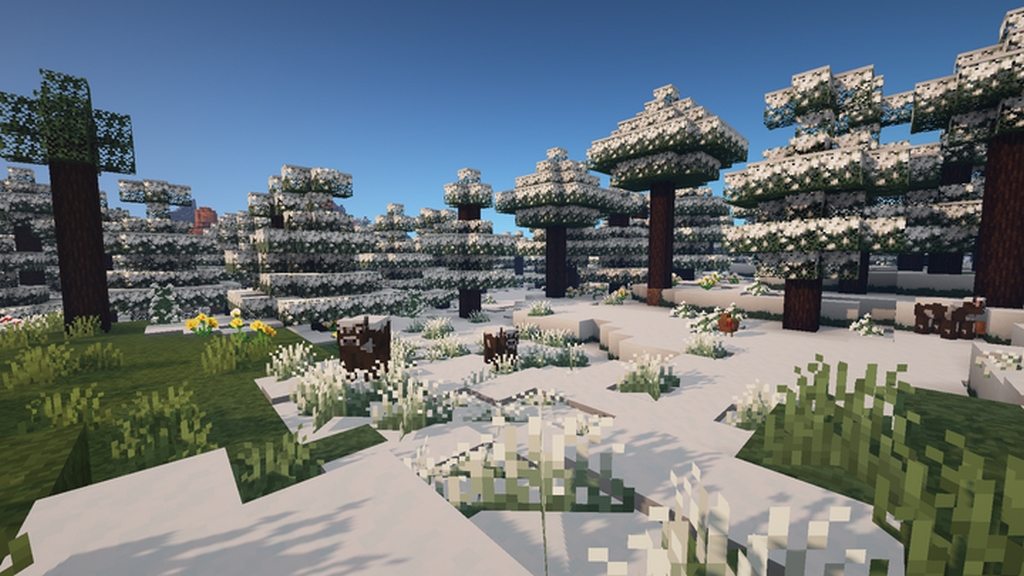
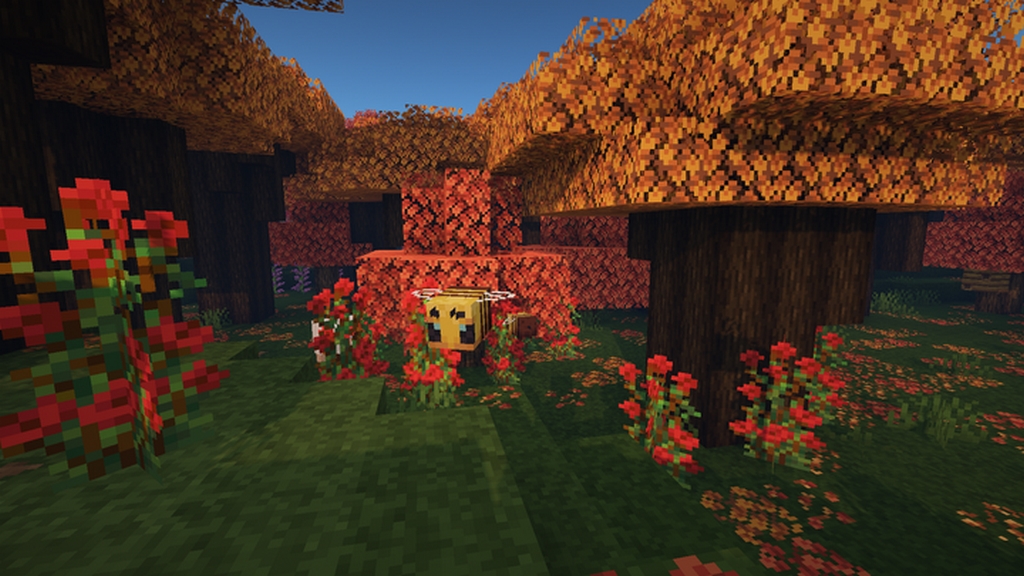
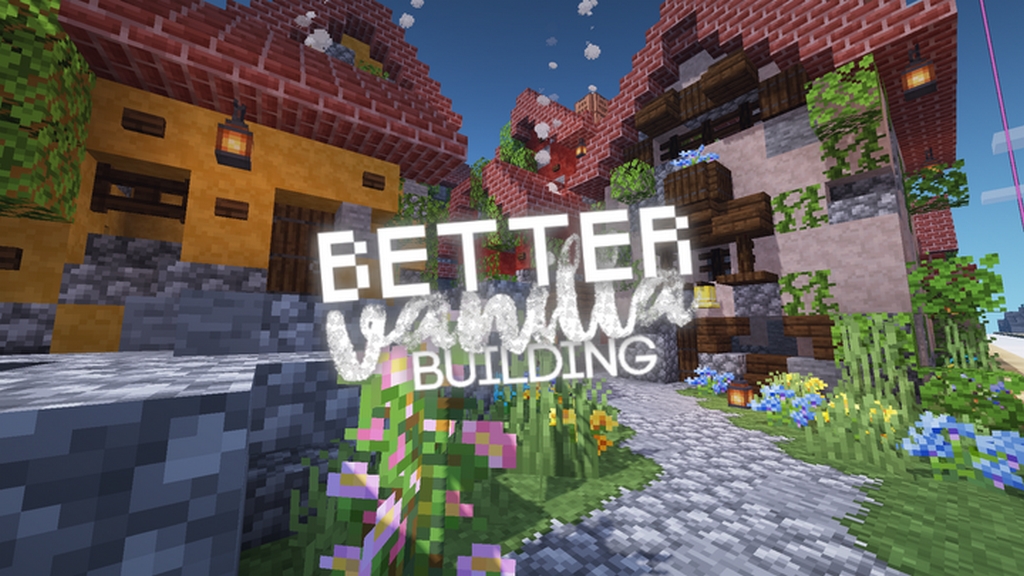
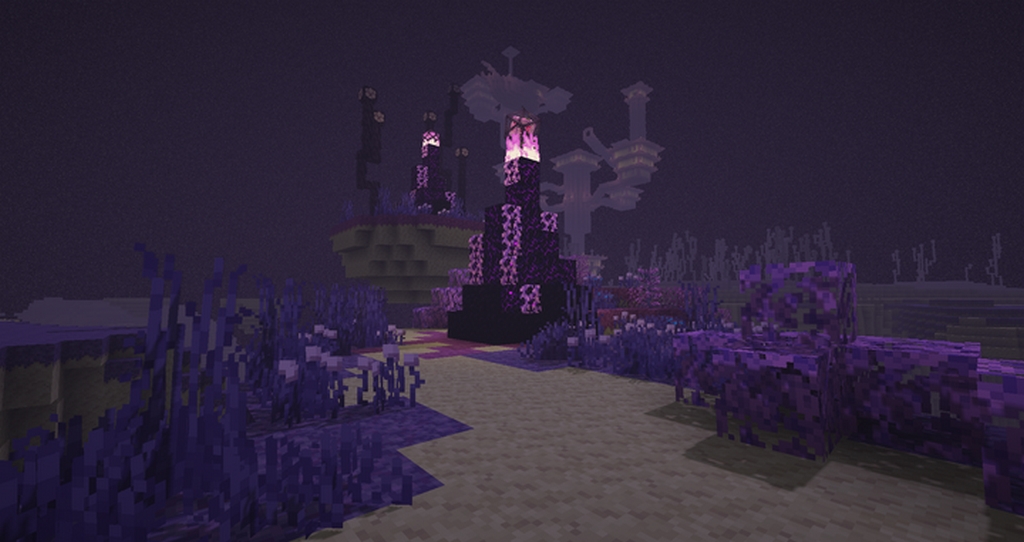
BetterVanillaBuilding Texture Packs has been created with the purpose of keeping the main art style in Vanilla Minecraft unchanged while enhancing textures at the same time in different methods to help players have a better gaming experience.
BetterVanillaBuilding Texture Packs screenshot :


Official links:
Check out the BetterVanillaBuilding on the Official Source
BetterVanillaBuilding Texture Packs download link
[16x] [1.19.x] Download BetterVanillaBuilding Resource Pack
[16x] [1.18.x] Download BetterVanillaBuilding Resource Pack
[16x] [1.17.x] Download BetterVanillaBuilding Resource Pack
[16x] [1.16.x – 1.14.x] Download BetterVanillaBuilding Resource Pack
[16x] [1.13.x] Download BetterVanillaBuilding Resource Pack
[16x] [1.12.x] Download BetterVanillaBuilding Resource Pack
[16x] [1.11.x – 1.8.x] Download BetterVanillaBuilding Resource Pack
Add-ons:
[1.17.x] Download BetterVanillaBuilding – Bushy Leaves Addon
[1.16.x – 1.15.x] Download BetterVanillaBuilding – Bushy Leaves Addon
Bedrock Edition:
Download BetterVanillaBuilding Bedrock Edition Resource Pack
How to install OptiFine
1. Ready installed Minecraft Forge.
2. Download a Forge compatible mod from url download, or anywhere else!
3. Open Minecraft game, click ->> ‘Mods’ button from main menu, click – >> ‘Open Mods Folder’.Important: Some older versions of Forge may not have the ‘Open Mods Folder’ button. If that is the case, you will need to find the folder manually. Windows:
- Press the Windows key and R at the same time
- Type %appdata% and press enter
- Find folder Minecraft and then look for the Mods folder within that
Mac:
- Click on the desktop and then press Command+Shift+G all at the same time
- Type ~/Library and press enter
- Open the folder Application Support and then Minecraft
4. Place the mod file downloaded (.jar or .zip) into the Mods folder.
5. Run Minecraft, and you should now see the new mod installed in the list!